Create and Send an Interactive Quote
To learn more about FastSpring Interactive Quotes, contact our Sales team for a demo!
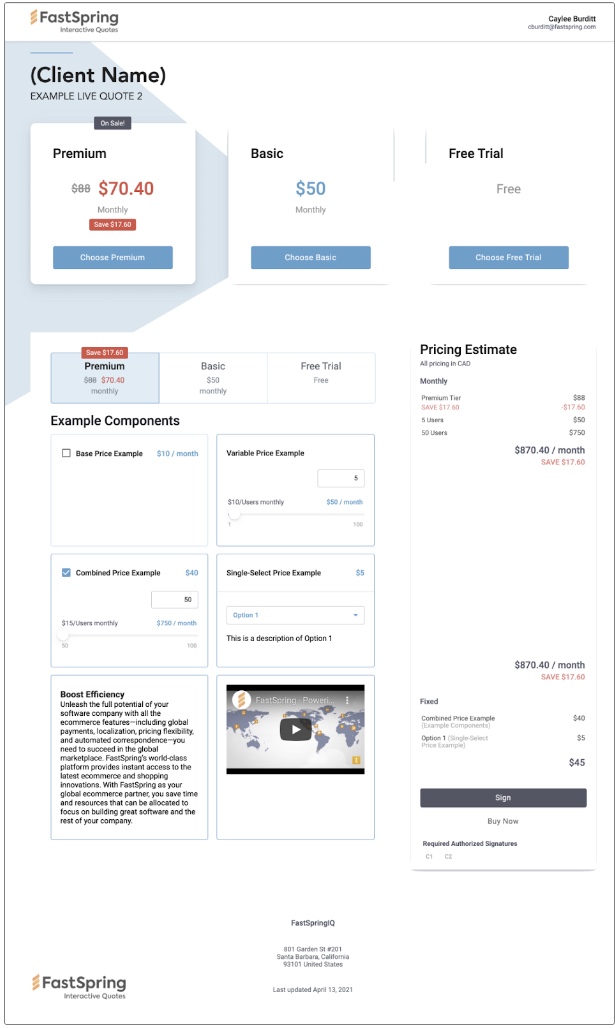
When you create an Interactive Quote, you configure what is included in the deal, potential upsells, and security requirements for the prospect. When the prospect receives the quote, they can customize their selected tiers and quantities, view discounts and highlights that you provide, and sign for the deal directly on the quote.

When creating or editing an Interactive Quote, there is an eyeball icon in the top, right corner of each Pricing Tier, Component, and Feature. Click on the eyeball to hide that part from the prospect. This allows you to send an existing quote without deleting parts of it.
Create an Interactive Quote
As you configure your quote, use the Preview button at the top, right corner of the configuration page to view the current configuration.
-
Log in to Interactive Quotes. At the top, right corner, click the blue +. The quote’s configuration page opens.
-
If Admins have configured Templates for your team, optionally select the most appropriate Template. All fields are still customizable. Select Blank Template to configure a quote from scratch.
_Note: _If you select Blank Template, choose between the Modern and Classic layout styles. If you select Modern, choose one of the three pricing positions. -
Apply a Theme Color and an Accent Color to the quote. Click + to apply a hex number or further customize your selection.
In the example above, the Theme Color is blue and the Accent Color is gray.
Setup
- In the Setup section, add a Title for your quote. This title will be visible to your team and your prospects.
- Select the currency that you would like to present the quote in.
- Optionally, add a tag to the quote.
- Click Associate Quote with CRM to associate the quote with an opportunity record in Salesforce, or a deal on HubSpot. This allows you to view the quote status directly in your CRM and directly pull company and contact information.
- Under Client Company and Contacts, enter the company name and prospects’ names for whom you are creating the quote.
- Under Notes Visible to Client, optionally add information for your prospect to read when they review the quote.
eSignatures and Terms of Service
With eSignatures, you can require prospects to sign your Interactive Quote in order to accept the deal. After all prospects sign, FastSpring disables editing options.
- In the Setup section, click the eSignature toggle to require signatures from your prospects. The Add Signer link appears.
- Click Add Signer. If you have added a Client Company, you can select from existing contacts, or create a new one. Otherwise, click Add Unnamed Signer to collect signatures from unknown contacts.
- Below Terms, click the Terms of Service toggle to display your terms and conditions on the quote. Select Text Block to type them in, or Website URL to direct the prospect to your company’s Terms of Service page.
After each signer signs the quote, FastSpring will email you and your prospects a PDF version of the audit trail.
Security
You can include any or all of the following security features on your quote. Click the associated toggle in the quote’s configuration page to enable or disable the following:
- Quote Expiry: Add an expiration date for the quote. The expiration will take place in the prospect’s time zone. If the quote is still open on the expiration date, FastSpring will disable it. You can choose to show the disabled quote or Expiry Message to prospects when this happens. If you select Expiry Message, we will inform your prospect of the next steps. Configure the Action Button to either email you or redirect to a URL when this happens.
- Limit Visits: Type the maximum number of times prospects may open the quote before FastSpring disables it.
- Password Protect: Apply a password to the quote to limit access.
Call to Action Button
In the quote’s configuration page, click the Call to Action Button toggle to display a Call to Action Button on your quote. Then, choose from the following actions and type a custom message.
- Pay with FastSpring: Redirect the prospect to a FastSpring Storefront to complete the purchase when they click the button.
- Thank You Message: Customize a Thank You message that FastSpring sends to your prospects when they click the button.
- Redirect to URL: Add a URL and parameters for FastSpring to redirect the prospect to.
Pricing Tiers
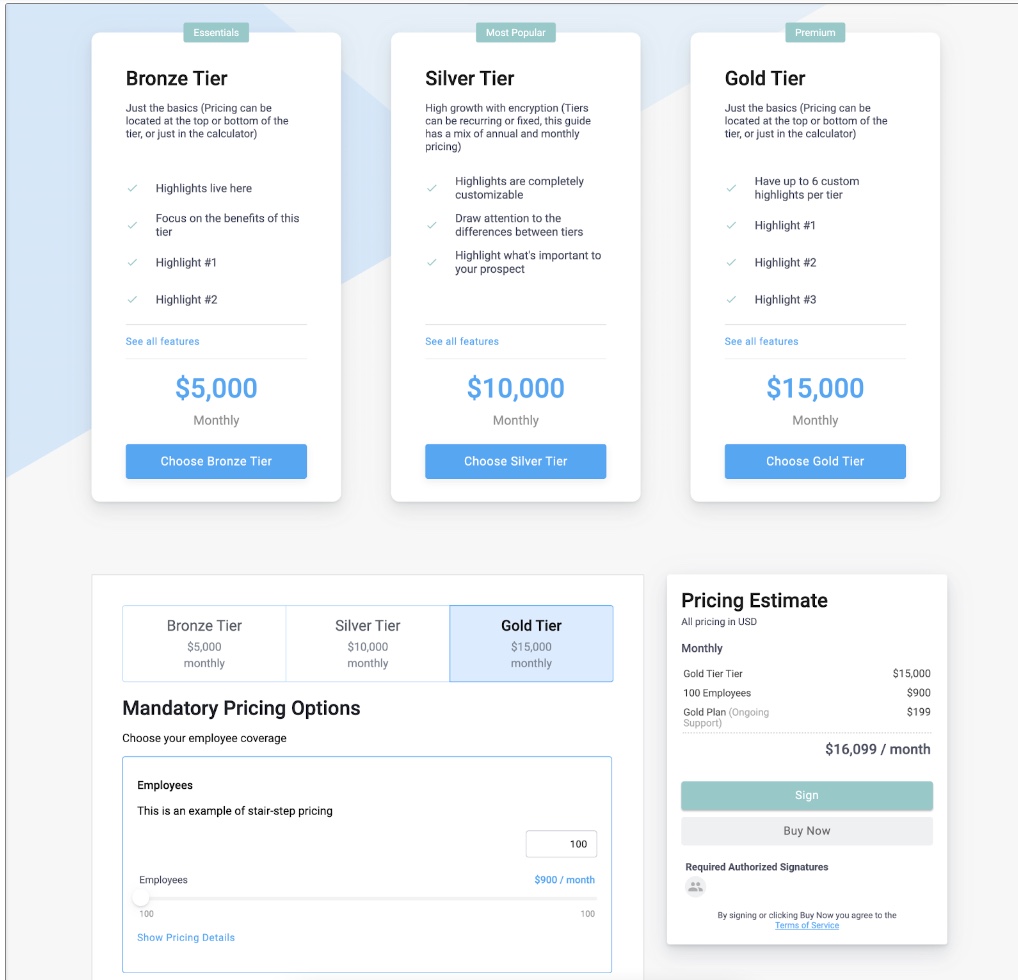
A Pricing Tier is a plan that contains specific features. Typically, more expensive tiers contain more, or higher quality features. You can configure up to 5 pricing tiers on each quote. All fields, including the pricing, display text, discounts, and features are editable.
The example below includes 3 Pricing Tiers: Bronze, Silver, and Gold. Each tier displays associated features, pricing and text.

- Title field: Add a name for the tier. Examples include Premium, Basic, and Free.
- Price Rendering field: Select Price to enter a monetary value (such as $100), or Custom Text to enter text (such as FREE). You can change the currency in the Setup section above.
- Price field: Enter the price of the Tier. Optionally, click the price tag icon to apply a discount to the price.
- Period field: Enter the rebill frequency.
- Fixed: one-time payment
- Annually: 1 subscription rebill per year
- Quarterly: 4 subscription rebills per year
- Monthly: 1 subscription rebill each month
- Weekly: 1 subscription rebill each week
- Bi-annually: 1 subscription rebill every two years
- Semi-annually: 2 subscription rebills per year
- Optionally, provide a Description of the Tier.
- In the Callout field, optionally enter a custom text that will appear at the top of the Tier. The callouts in the example above say “Essentials”, “Most Popular”, and “Premium”.
- Optionally, click Add Highlight to add a checkmark next to a Feature or text that you want to highlight.
- Click Add Tier to add an additional Pricing Tier.
Features
Features are services or tools that your company provides with a product or pricing tier. These are listed on each Pricing Tier, and you can configure them to vary by tier.
- In the quote configuration page, click Add Feature.
- Add a Feature Title. This will be the text that appears to the left of the Pricing Tiers.
- At the top, right corner of the Feature section, each Tier is represented by a radio button. Deselect the radio buttons for each Tier that does not include this Feature.
- In the dropdown, select Checkmark or Custom Text.
- Checkmark: Appears in each Price Tier this feature is available.
- Custom Text : Add a custom text for each Price Tier this Feature is available for. This is useful if you want to vary the availability of Features.
- Add a Description of the Feature. This appears when prospects put their cursor over the ? icon.
- Optionally, add one or more Subfeatures. These allow you to expand on what is included within each feature.
Components
Components are products and services that your company offers in addition to the features on the pricing tiers. These display at the bottom of the quote. You can customize the pricing type, and which selections are required.
- In the Components section, select Add Component. A menu appears. Select whether to display the components in one or two columns.
- Select the most appropriate Component for your offer. See Pricing Components (IQ) for more information.
- Add a customer-facing Name of up to 50 characters. Configure pricing for the Component.
- Select or deselect the radio buttons at the top, right corner to customize which Pricing Tier the Component applies to.
- Repeat this process for each Component you wish to add.
Duplicate an Interactive Quote
You can duplicate any existing quote, regardless of the expiration status. After you duplicate the quote, all fields are still customizable.
- Navigate to the details page of the quote you wish to duplicate.
- At the top, right corner, select the clipboard icon. A duplicate quote is created with the name “Copy of e of your Interactive Quote]”. T”. The configuration page appears.

Send an Interactive Quote
- On the All Quotes page, navigate to the Interactive Quote you want to send.
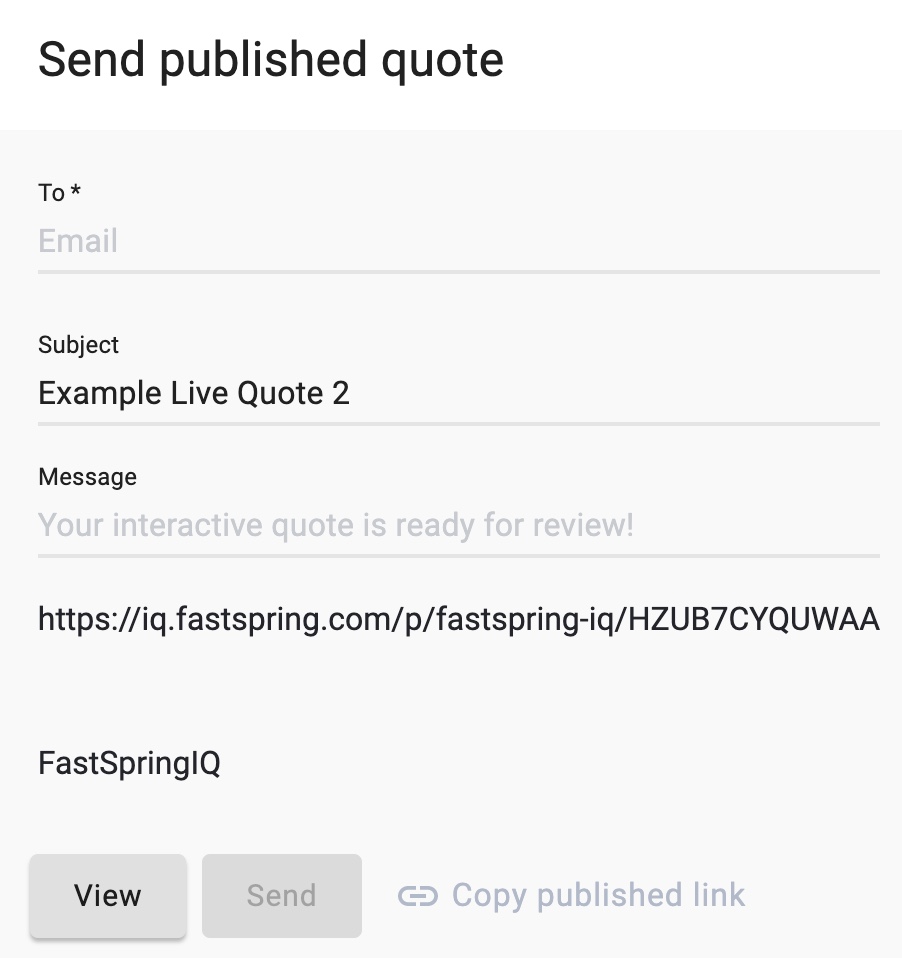
- Click the three dots, then select Send. A popup appears.

- Type in the email address, subject, and message for your prospect.
- Click Send.
Alternatively, select Copy Published Link from the drop-down menu. The link to the quote is automatically copied to your clipboard for you to send to anyone.
Updated 5 months ago
